Why the Bar Format Exists
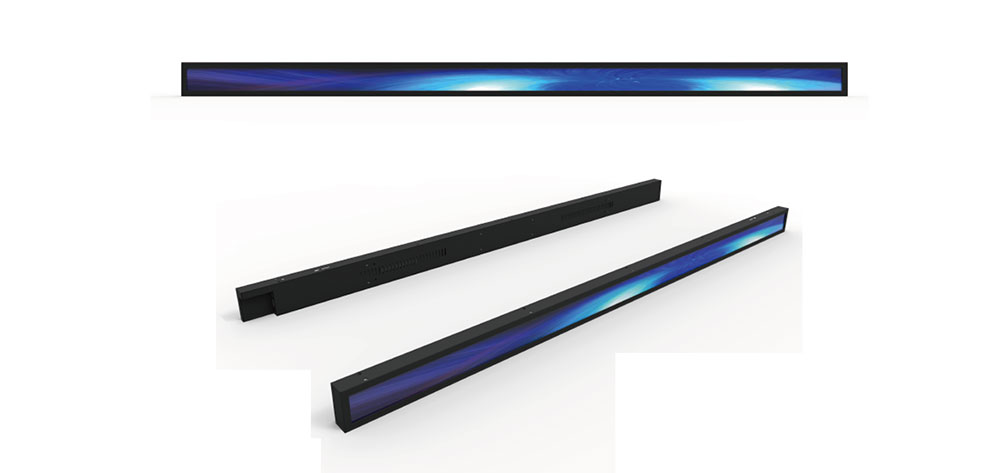
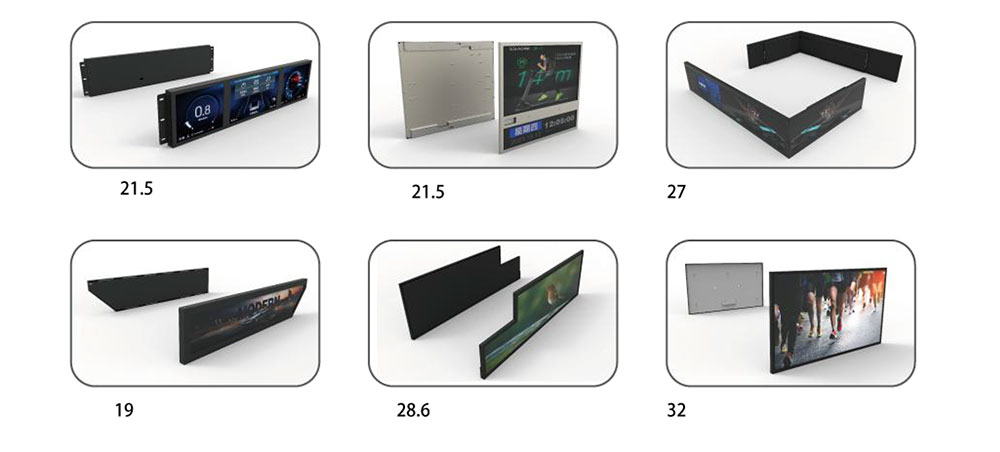
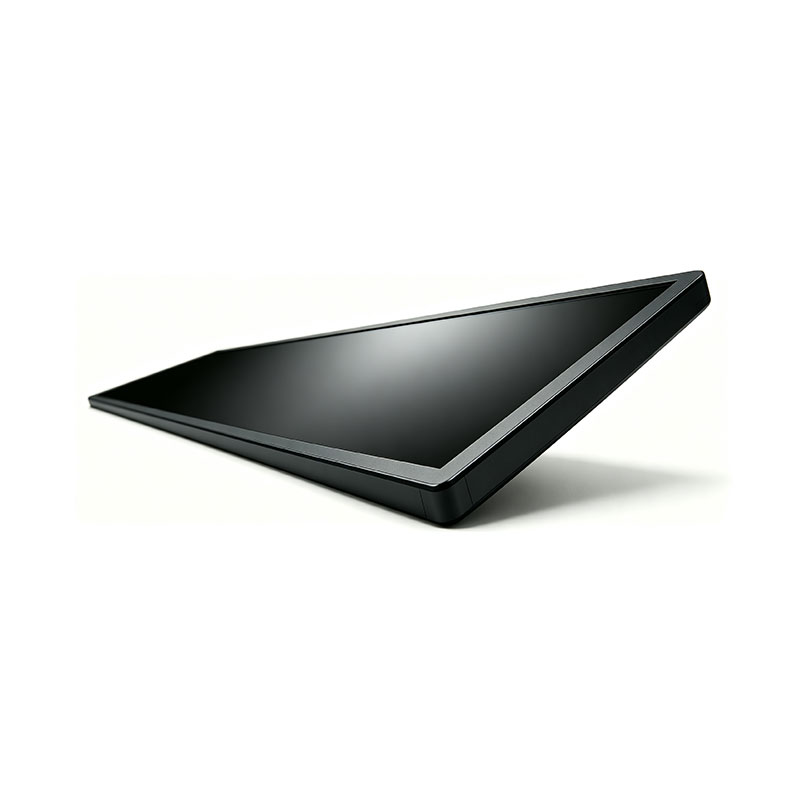
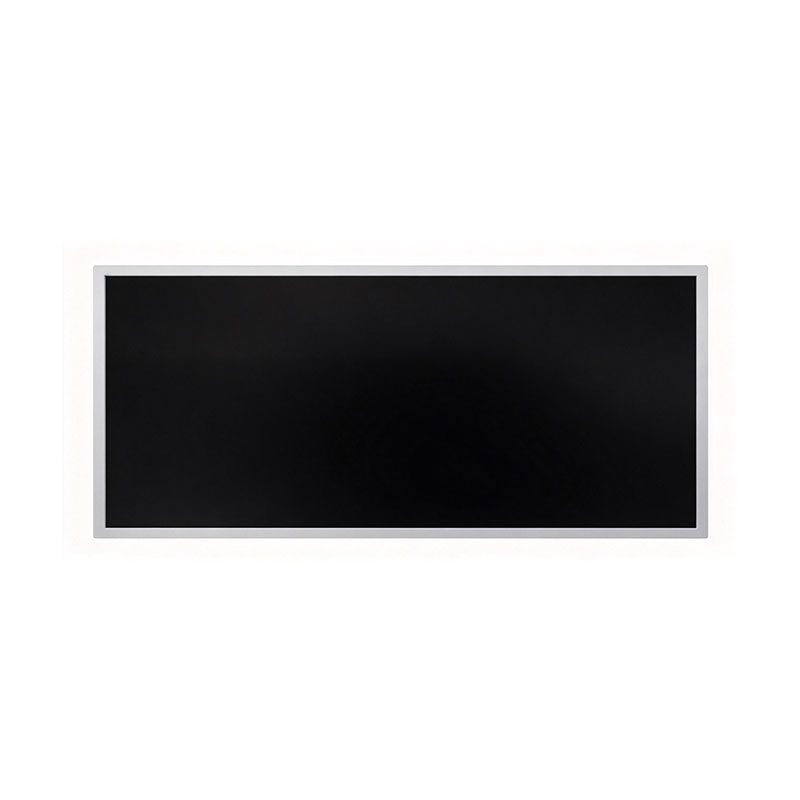
A bar LCD — also called a stretched display, strip display, or ultra-wide bar screen — is a liquid crystal panel deliberately cut to an elongated aspect ratio, typically between 16:3 and 16:9-long variants such as 16:4.5, 24:9 or 32:9. Common diagonals run from about 19 inches up to 88 inches, with resolutions clustered around 1920 × 540, 1920 × 360, 2880 × 1080 and 3840 × 1080.
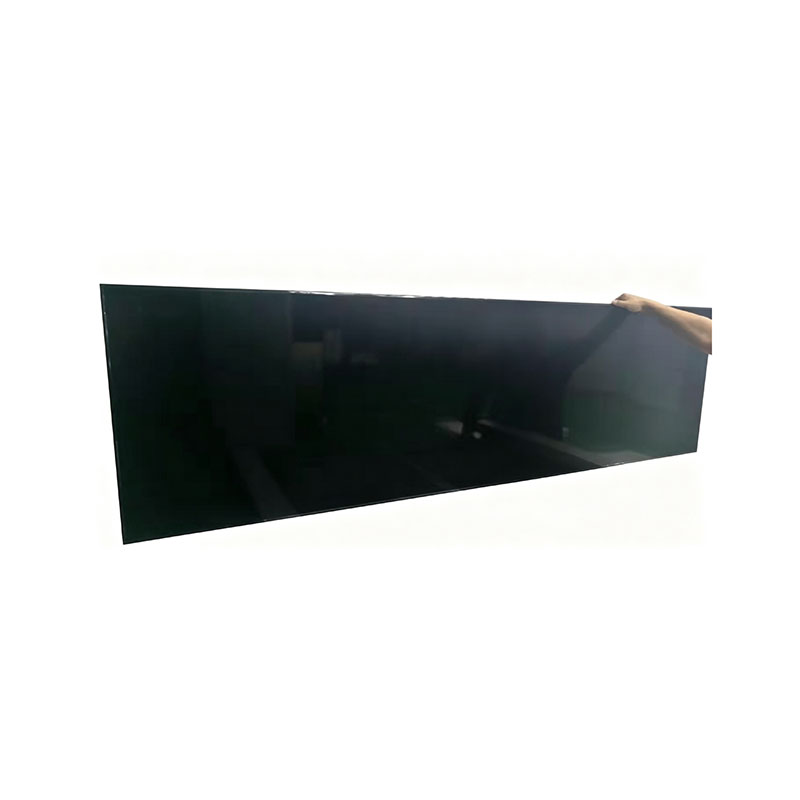
The format was not invented to be novel. It exists because public information architecture has always had a shape problem: the information a venue needs to publish — a departure time, a platform number, a queue ticket, a price, a direction — is a short horizontal string, while the space available above a doorway, along a shelf edge, or under a check-in desk is a long horizontal sliver. A 16:9 monitor forced into that space wastes most of its area on empty background, and it physically will not fit. A bar panel puts the pixels where the content already is.
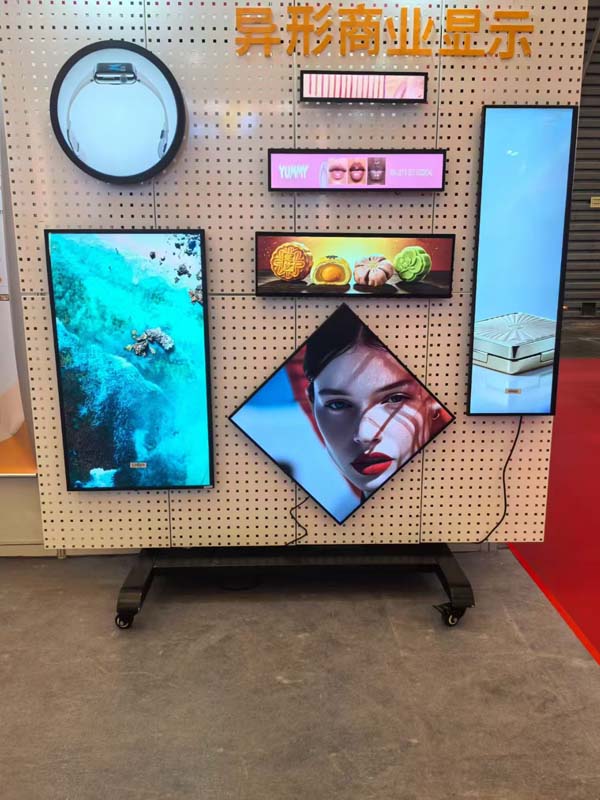
That single geometric fact is also the root of most procurement mistakes. A bar LCD is not a television with the top and bottom trimmed; it is an industrial display whose aspect ratio, thermal envelope and content behaviour all differ from conventional signage. Choosing one well means specifying against those differences rather than against a datasheet headline.
Step 1: Derive the Format From the Viewing Geometry
Start with the installation, not the catalogue. Three measurements determine almost everything downstream:
- Viewing distance. The rule of thumb for legibility is roughly 10 mm of character height per metre of viewing distance for comfortable reading, and about half that for a viewer actively searching for one number. From 3 m, a 40 mm character reads easily; from 12 m across a concourse, you need 150 mm or more.
- Available aperture. Measure the recess, the header void, or the ceiling-hung clearance before anything else. Account for the bezel, the mounting bracket, and the service access you will need behind the panel.
- Content density. Count the maximum simultaneous elements — rows in a timetable, lanes in a queue display, products along a shelf — and multiply by the horizontal pitch each row requires. That product, not the diagonal, is the real width requirement.
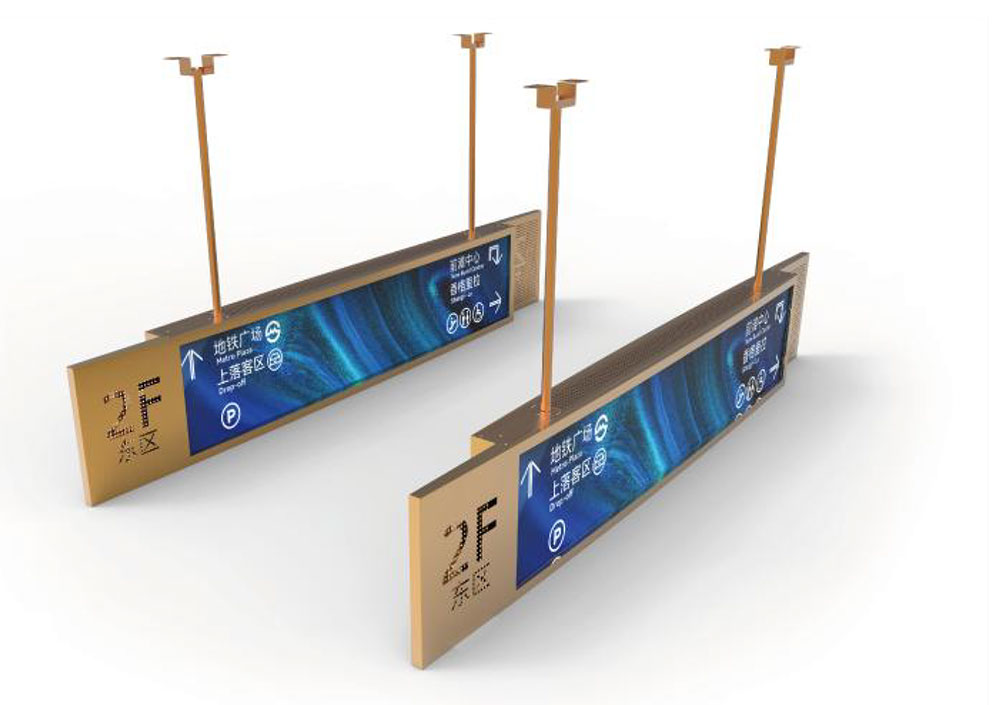
Only then match a panel: a 28-inch bar at 1920 × 540 suits a single-line header or a slim menu strip; a 37- to 43-inch bar at 3840 × 1080 handles multi-row departures with room for logos and icons; a 57-inch or larger bar belongs over wide counters or as a ceiling-hung ribbon in transport halls.
Resolution matters more than usual here because bar panels are often viewed off-axis and from a distance where interpolation artefacts become visible. Prefer native resolution delivery — a 1920 × 540 panel fed a 1920 × 1080 signal will letterbox or scale, and both outcomes look unprofessional in a public space.
Step 2: Specify Brightness Against the Actual Light Environment
Brightness in nits is the most quoted and least understood specification in signage. It is necessary but not sufficient, because perceived readability is governed by ambient contrast — the ratio between the display's white and the light reflecting off its surface — not by peak luminance alone.
| Environment | Typical ambient | Sensible luminance target | Surface treatment |
|---|---|---|---|
| Indoor corridor, lobby, elevator landing | 200–500 lux | 400–700 nits | Anti-glare, matte |
| Retail floor, supermarket, mall atrium | 500–1,500 lux | 700–1,000 nits | Anti-glare, haze 5–10% |
| Glazed concourse, station platform, daylight-facing window | 2,000–20,000 lux | 1,500–3,000 nits with high contrast | Anti-glare plus anti-reflective, or bonded glass |
| Direct sun on the panel face | up to 100,000 lux | Reconsider the mounting, then specify 3,000+ nits | Bonded AR glass, high haze |
Two cautions apply. First, a high-brightness panel that is over-specified for a dim room is a liability: at 2,000 nits in a 300-lux lobby the display is fatiguing, and you will dim it anyway, paying for backlight capacity you never use. Second, brightness costs heat. Every additional 500 nits of backlight output adds measurable thermal load, and a bar panel has a poor surface-area-to-volume ratio for shedding it. Choose the lowest luminance band that reliably meets the worst-case lighting condition at that site, and prefer panels that offer a dimming range down to 20–30% with stable colour.
Step 3: Interrogate Panel Grade and Optical Quality
Bar panels are cut from the same mother glass as conventional displays, and the cut position determines yield and price. This is why apparently similar bar LCDs can differ by a factor of two in cost. The differences are real and show up on site:
- Uniformity. Ask for a nine-point luminance uniformity figure, measured at 100% white. Accept 75% or better for general signage; insist on 80–85% for menu boards and any application with large flat colour fields, where mura and corner darkening are obvious.
- Contrast ratio. Static contrast of 1,000:1 or higher is the floor for dark-environment installations such as museums, control rooms and evening retail. Beware dynamic contrast figures, which describe processing, not the panel.
- Colour. 72% NTSC is adequate for wayfinding; 90%+ DCI-P3 coverage is required where the bar display sits next to branded merchandise or must match a print campaign. Insist on a specified ΔE tolerance for batch-to-batch colour consistency across a multi-screen deployment.
- Grade. Industrial or commercial grade panels carry tighter defect specifications and, critically, long-term availability commitments. Consumer-grade bar panels are cheaper, but they frequently disappear from the market in 12–18 months, which is fatal for a public infrastructure project with a ten-year service life.
Step 4: Treat Thermals as a Design Constraint, Not a Detail
This is where bar displays in public systems fail most often, and it is almost always the integrator's fault rather than the panel's. A sealed aluminium enclosure with no airflow, a bright backlight, and continuous 24/7 operation in a ceiling void is a recipe for accelerated luminance decay and, in the worst case, permanent browning at the panel edges.
Specify and verify:
- Operating temperature range — 0 °C to 50 °C is typical for indoor signage; an extended −20 °C to 60 °C range is required for outdoor kiosks, transport canopies and unheated spaces.
- Cooling architecture — passive metal back chassis with thermal bonding for low-power units; fan-assisted or heat-pipe designs for high-brightness units above roughly 1,500 nits. Fans need filters and a maintenance interval, so account for that in the service plan.
- Orientation effects — portrait and face-up or face-down mounting change convection paths materially. Confirm the panel's rated orientation limits, and confirm whether the mechanical design assumes landscape.
- Derating — ask what happens above the rated ambient. A good supplier will state that the backlight current is reduced to protect the panel, and what luminance you will actually see at 45 °C.
Step 5: Match Interfaces, Control and Content Architecture
Public information systems are rarely a single screen. Plan for scale from the start.
- Signal inputs. HDMI 2.0 and DisplayPort 1.2 cover most media players and CMS endpoints; DVI and VGA persist in legacy estate upgrades. For OEM integration inside a kiosk, expect LVDS or V-by-One and design the harness accordingly.
- Daisy-chaining and control. RS-232 or RJ45 loop-through for power and source control reduces cabling in long runs such as a station platform ribbon of six displays. Confirm the control protocol is documented and that a monitoring layer can read back temperature, backlight hours and signal status.
- Embedded players. An integrated Android SoC or an OPS-compatible slot removes an external box and a point of failure, at the cost of vendor lock-in and slower security patching. A separate commercial-grade media player is often the better choice for anything connected to a corporate network.
- Failover and recovery. Public displays must come back after a power interruption without human intervention. Specify auto-on-when-powered, input auto-detect with fallback, and a watchdog. Test it by pulling mains power twenty times.
Step 6: Design for Static Content and Image Retention
Bar displays in public systems are unusual in that they often show the same layout for hours — a gate number, a price, a queue position. That is precisely the condition that produces image sticking on LCD panels.
Mitigations to require in the content design, not just the hardware:
- Rotate or shift the layout by a few pixels on a slow cycle (pixel shift), and vary background luminance subtly.
- Avoid pure white text on pure black at full brightness for hours; a light grey field is kinder to the panel and often more legible under reflection.
- Schedule a periodic full-screen white sweep or screen saver during closed hours.
- Specify panels with a documented retention specification, and treat "no retention guarantee" as a risk you are accepting knowingly.
Step 7: Mechanical Integration, Protection and Serviceability
Bar displays are frequently specified into architecture — recessed into joinery, bonded behind glass, hung from a ceiling grid. Get the mechanical drawing before you commit to the opening.
- Bezel and glass. Narrow bezels (typically 8–15 mm) suit flush architectural integration. Front glass should offer at least IK07 impact resistance in public circulation areas, and IP54 front protection where cleaning is frequent or the unit sits near entrances.
- Mounting. Verify VESA patterns, and check whether the bar format's centre of mass allows a standard bracket or needs a bespoke carrier. Long, thin panels flex; the bracket must support the panel along its full length, not just at two points.
- Access. Build in a route for the power and signal cables that does not require demounting the display, and leave room for a service engineer to reach the connectors.
- Security. In unattended public spaces, specify tamper-resistant fixings and consider a bonded front glass that cannot be prised off.
Step 8: Certifications, Lifetime and Commercial Terms
Certification is a filter, not a formality. Confirm CE and UKCA marking for Europe, FCC for North America, RoHS and REACH for materials compliance, and UL or equivalent for fire safety in commercial buildings. For transport and public-sector work, expect EMC documentation and, increasingly, a cybersecurity statement covering firmware update policy.
On lifetime, the headline figure is backlight hours to 50% luminance — typically 50,000 to 70,000 hours. Read it carefully: it is measured under defined conditions (usually 25 °C, mid-brightness, 50% duty cycle for the panel). At 2,000 nits and 50 °C continuous operation, real life will be shorter. Ask the supplier to state the derating assumption explicitly.
On commercial terms, the questions that protect a public project are:
- What is the guaranteed product availability period, and how much notice precedes end-of-life?
- Will the supplier hold a golden sample and accept batch consistency against it?
- What are the agreed AQL levels for dead pixels and bright dots?
- What is the warranty, what does it exclude (lightning, water ingress, mounting in over-temperature voids), and what is the advance-replacement turnaround?
- Are spare units and consumables (fans, filters) available for the full service life?
A Practical Procurement Sequence
- Define the information task — what must be read, by whom, from how far, in what light.
- Fix the mechanical envelope — aperture, depth, mounting, service access.
- Derive format and resolution from viewing geometry and content density.
- Set the luminance band from worst-case ambient, not average.
- Write a requirement table covering uniformity, contrast, colour tolerance, operating temperature, interface set, control protocol, retention mitigation and certifications.
- Request samples and validate on site — never in a showroom. Bring a test pattern, a real content loop, and a lux meter.
- Run an environmental trial — 72 hours minimum at the intended brightness and in the intended enclosure, with the back of the unit instrumented.
- Lock the supply chain — availability commitment, golden sample, AQL, warranty terms, spare parts.
Common Failure Modes Worth Designing Out
Most bar display deployments that disappoint do so for one of five reasons: the panel was too dim for the window it faced, the enclosure trapped heat and the backlight faded early, the resolution did not match the content and everything looked soft, the aspect ratio forced the CMS into awkward letterboxing, or the model was discontinued before the last screen shipped. None of these is a manufacturing defect. All of them are specification decisions made early and never revisited.
The discipline that prevents them is unglamorous: measure the site, write requirements from the measurement, demand documentation for every claim, and validate a sample in the real environment before placing the volume order. A bar LCD chosen that way will still be legible, uniform and serviceable a decade after commissioning.
KEYWORDS: bar LCD display, stretched bar display selection, public information display, high brightness LCD signage, bar type LCD specification